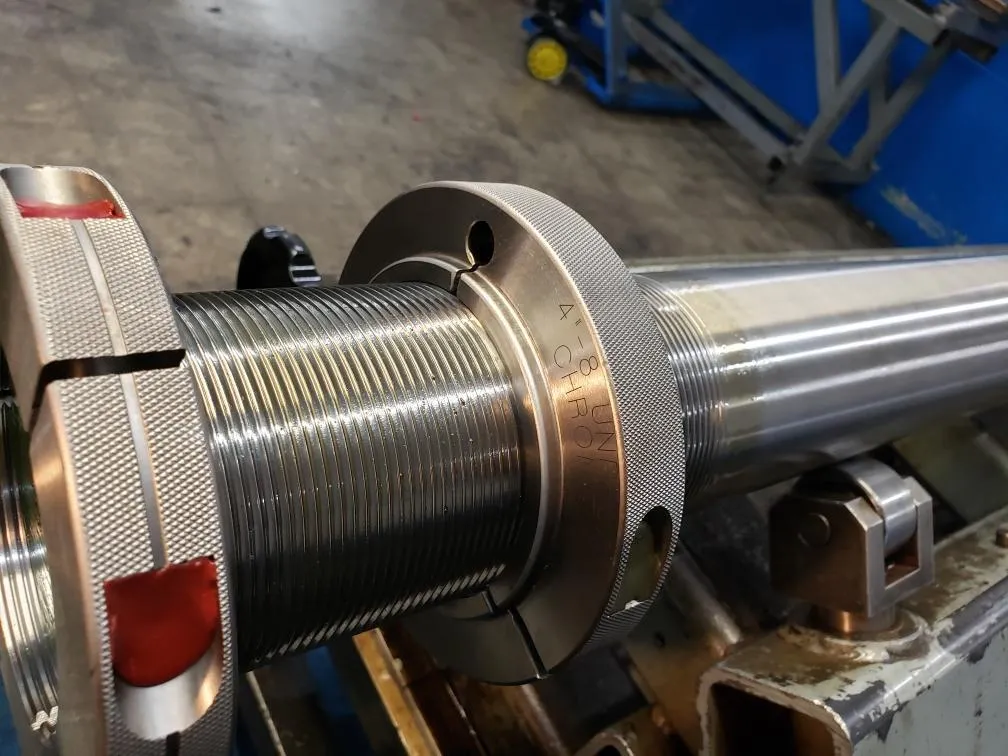
We often receive this question about fastener thread gage specifications: What is the difference between System 21 and System 22 thread gauging?
Specifications for fastener threads are established by the Industrial Fasteners Institute (IFI). These specifications include gage, thread form, allowance, tolerance and designation. There are multiple thread standards designated by IFI, based on standards for inch screw threads created by the American Society of Mechanical Engineers (ASME):
- ASME B1.1: dimensional requirements for unified inch screw threads
- ASME B1.2: gauging for unified inch screw threads
- ASME B1.3: fastener thread gauging systems for acceptability
ASME B1.3 is where Systems 21 and 22 are established. These fastener thread gauging systems are comprised of fastener thread characteristics that must be inspected to establish the dimensional acceptability of the fastener threads on a threaded product and the gages that are used when inspecting those characteristics.
So what is the difference between System 21 and System 22 thread gauging? Put simply:
- System 21 measurements are the simplest and most commonly used gauging system. They only require the use of fixed limit gauging, such as pass/fail or go/no-go, with no actual data.
- System 22 measurements require characteristics to have a numerical value, not just pass/fail results. These are most often used for socket head cap fasteners and aerospace threads.
System 21, is defined by the use of a go and no-go gage as pass/fail criteria. It is an industry standard for a go gage to accept the threads freely, and to allow a maximum of one to three turns with a no-go, depending on the requirement or specification. When using adjustable style gages, it is important to have a calibrated setting plug to make sure the rings are set properly. A worn or galled gage can reject a good thread or worse – pass a bad thread or part. Adjustable gages or rings have sealed adjustment screws that can be used to change its setting. This should only be completed with a calibrated setting plug along with gage setting guidelines, or by an accredited lab.
System 22 is the variable measurement of the maximum and minimum material limits of a thread or fastener. In addition to measuring pitch diameter, system 22 also measures cumulative form variation such as lead, flank angle, taper and roundness confined within the maximum and minimum material limits. System 22 requires the use of special variable gages often defined as tri-rolls or roll comparators, which provide a specific numerical value, instead of just a pass-fail result. A thread that passes using System 22 automatically qualifies the product to meet System 21 requirements even without the use of a go/no-go.
In addition to system 21 and 22 gauging, it is common to also measure the basic thread geometry such as major, pitch and minor diameter with the use of thread wires, micrometers and optical comparators.
When it comes to gauging your fastener characteristics, there’s no “default” answer or industry-wide standard. That’s why we suggest to always specify which system you’re going to use to avoid confusion later.
Contact us today to discuss all your thread rolling needs.

